Research:
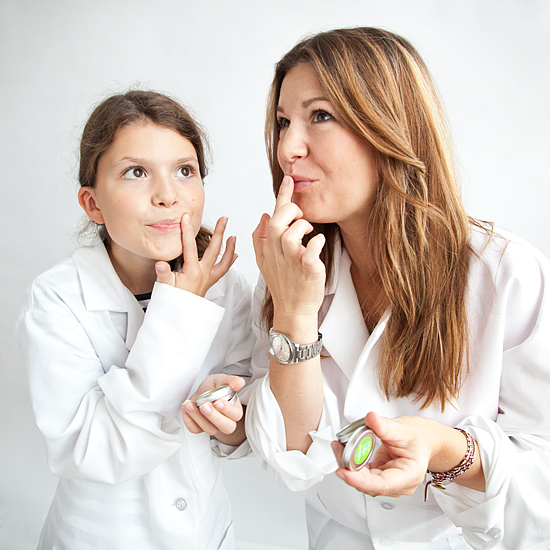
I am a total lip balm addict, as is our entire family. I have two on my desk at work, a few stashed in my bag, and always one in the car. The thing about my lip balm is, frankly, I do not like to share, and therefore I can never have enough of fresh sticks or tins of fresh balm on hand!
Hypothesis:
I am thinking that since I am a creature of habit and typically buy the same flavors, making my own lip balm with the DIY Lip Balm Kit will give me an opportunity to experiment with a different range of scents; and since everything is provided for us it should be fool proof!
Experiment:
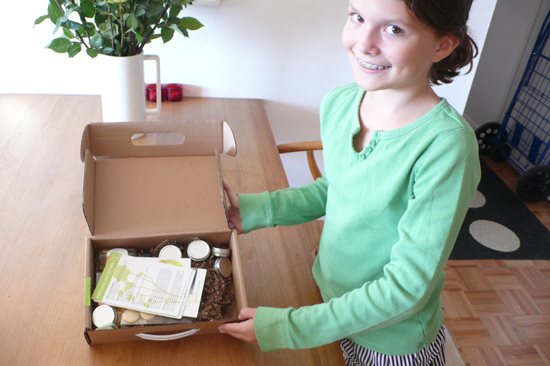
I knew my 12-year-old daughter Tea was super excited to experiment with me and could not wait to open the box and check out the contents. We decided to make a variety of flavors instead of 6 tins of the same flavor, so we raided our cabinets for essential oils and found a few interesting base scents. The kit comes with peppermint, so we opted for the peppermint, our tangerine oil, and added a chocolate oil to the peppermint (for the “never yet seen on any store shelf”) chocolate-peppermint lip balm.
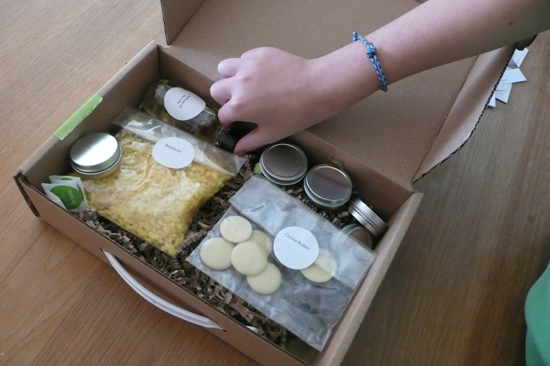 Everything is well labeled in the kit and very organized and the instructions were very easy to follow. Basically all that was needed was a scale, a few mixing cups, a spoon, and a double boiler. It was very nice to see the cards had details on all the ingredients – informative and educational.
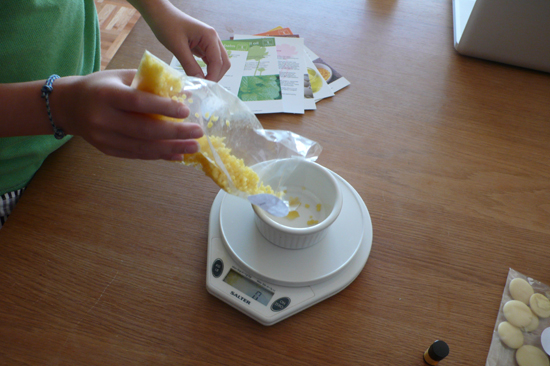
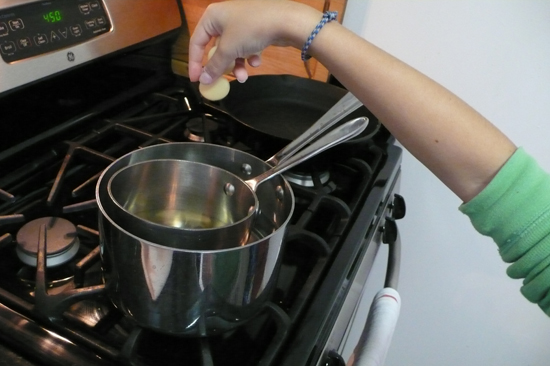 We wanted a “plain” balm first, so we threw all the ingredients to melt together–basically beeswax, cocoa butter, and sunflower oil–let that melt and filled the first tin with the unscented mix. There are really clear instructions on how to get the balm to be smooth on the top, and what to do if it coagulates.
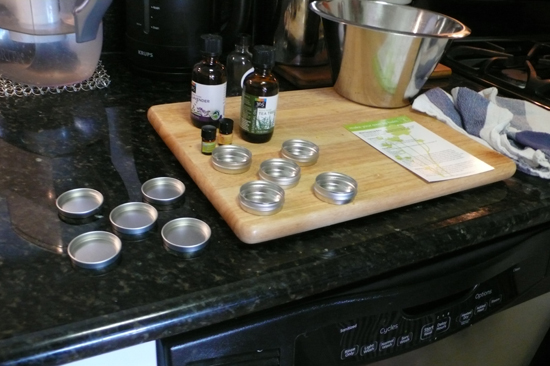 Since we were doing a variety of flavors, we had to plan out the best way to achieve our assortment, and it seemed like the best way was to just mix the plain base with the oil right in the little tins.
We discovered that if you add too much essential oil, it becomes too strong and can burn your lips, so in this case less is more, as the natural oils are very concentrated.
Next came the peppermint, and since this was our last base flavor, we added peppermint right to the boiler, and mixed it well. After we filled the tins with peppermint, we added some chocolate to the nearly empty boiler, making our last mixture of chocolate peppermint.
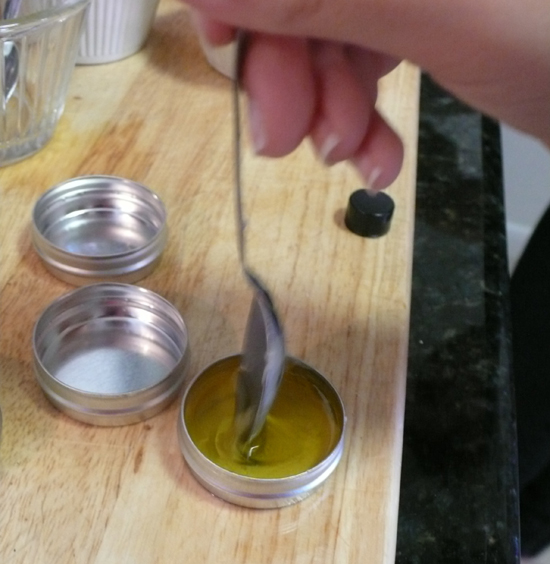
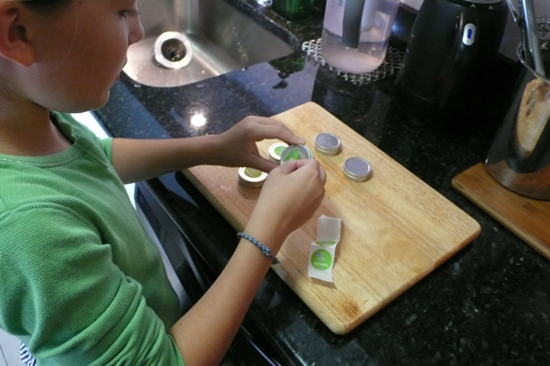 The instructions recommended a curing/hardening period of a few hours. In the meantime Tea labeled the tins so we could be ready for action when the balms were set.
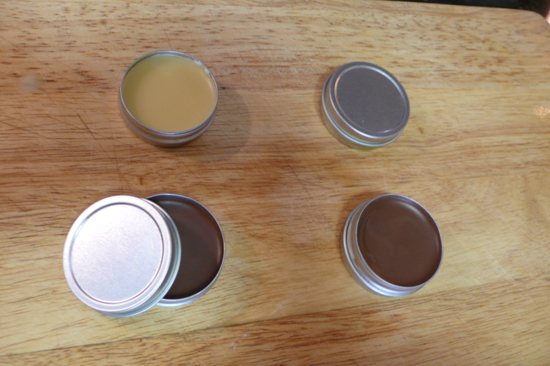
Conclusion:
This was a super fun, easy activity that was basically fool proof. We over-scented one tin but found you could dilute the mix by added more wax/base… so all in all it was very fun, we achieved great results and had a lot of fun doing this together! I was very happy to have all the instructions ingredients provided for us, and know that if we want to continue another time, we just need to seek the ingredients. We still have the tins and the recipe, and the know-how; I am sure we’ll give it another try and even experiment with some more flavors next time!

4 Comments
Looks simple and fun for all ages!
Looks like a lot of fun, I like DIY gifts, like this one for example. It’s a double fun, you are having fun making it with your kids and then get creative packaging it and then have the pleasure giving it to one of your close friends or family members.
I also like the “Beer Soap” http://www.hopwhere.com/listings/beer-soap-6-pack/ , I think it’s another great gift idea!
This kit was awesome!I absolutely love the lip balm and am almost addicted to it. I am sad to say I lost my recipe card. Any chance I can get the recipe from you? I have products on hand but I am unsure of the measurements.
Hi Shannon!
Thanks for your question. You can email our Customer Service team at help@uncommongoods.com. Ask them to ask the appropriate merchant for the recipe, which we can send you as a pdf via email.